
Each designer knows that any piece of furniture, no matter how old he is, can be restored or even do it with your own hands.
Of course, you can order furniture from oak, but you must admit that it is much more interesting to restore the table with your own hands.
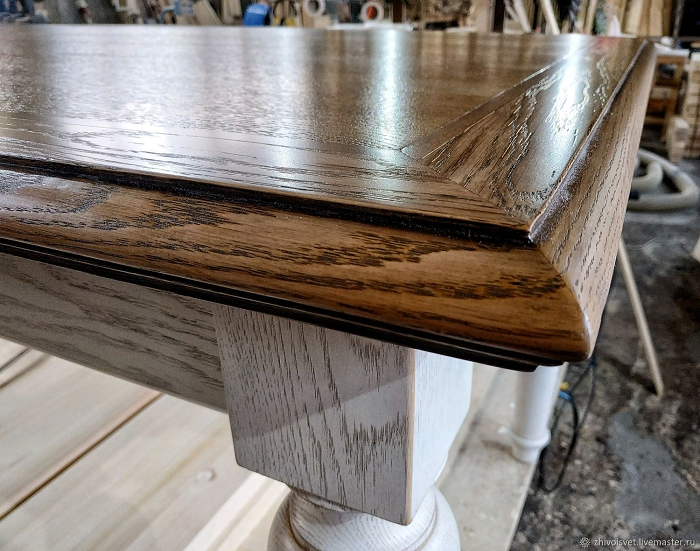
So, for restoration:
First you should carefully remove old tiles from the countertop using a scraper or spatula. The next stage is the processing of the grinding of the table of the table. After draft processing, then with a wet method we grind the entire wood of the table. It should be noted that grinding only along the wood fibers, because when grinding across the risks remain across. Before varnishing wood, it needs to be opened with a stain. Typically, oak -based light stains are used for oak. After the stain dries, a transparent primer or a layer of primer varnish is applied to the surface of the tree, then the surface is treated with a thin skin.
Image belongs to the site, photo is made CRAFTYJOE
Or create from scratch:
If you want to make a table with your own hands from scratch, you will need 3 oak boards, a size of 120 by 20 centimeters, a thickness of 7 centimeters, as well as three boards 40 by 20 centimeters of the same thickness. You will need six steel corners to assemble the table. On each side of the corners you need to make at least three holes. In addition, you should purchase screws, drill, wood drill, sandpaper, varnish, butter or wax for wood processing, as well as a brush, rag, pencil and roulette. The course of the work is as follows: put three boards on the floor so that they are parallel to each other. The distance between them should be two centimeters. Insert two blocks of 2 centimeters thick between the boards so that the boards do not move off. After retreat ten centimeters from the ends and perpendicularly put two short boards on top of the long. Be sure to mark with a pencil how they should be located. At the inner corners, mark where it will be necessary to drill holes, then drill them and fasten the corners to the short boards. In order for the boards to be properly located, it is necessary to screw the corners to long boards. The last stage is stripping the surface of the table, first with a larger grain with sandpaper, then small. Next, remove all dust and cover the table with transparent matte varnish. To protect the tree from damage, it can be covered with oil or special wax for wooden surfaces.